
If your lawn has yellow patches, thinning grass, or just doesn’t look as green as it should, the problem usually isn’t what’s happening above the surface—it’s what’s going on in the soil.
Instead of just relying on your eyes to visually diagnose your lawn, there is a better way! A DIY MySoil test for lawns is one of the fastest and cheapest ways to figure out what nutrients your grass needs. Instead of guessing with fertilizers and treatments, a soil test gives you clear answers so you can grow a thicker, greener lawn.
(If you make a purchase using the links in this post, we may earn a commission.)
Why Test Your Lawn Soil?
Many homeowners try to fix problems by adding fertilizer, weed killer, or grub control without really knowing what the yard needs. The trouble is, unhealthy grass often looks the same no matter what’s wrong.
Moving from lawn treatment to lawn treatment without getting results can be frustrating, time-consuming and expensive. The better way is to get to the “root” of the issue and see what’s going on down in the soil with a soil test made for turf.
A lawn soil test checks for:
- pH level (whether your soil is too acidic or alkaline)
- Macronutrients like nitrogen, phosphorus, and potassium (NPK)
- Micronutrients like iron, manganese, and zinc
- Calcium, sulfur, and magnesium (and more)
With this information, you’ll know exactly which nutrients your lawn is deficient in so that you can better decide which lawn fertilizer/application to use and in what amount. This way, you can avoid wasting money and get better results.
Best Soil Test Kit for Grass
You can hire a professional to test your lawn soil, but most people find it easier (and cheaper) to use an at-home soil test kit.
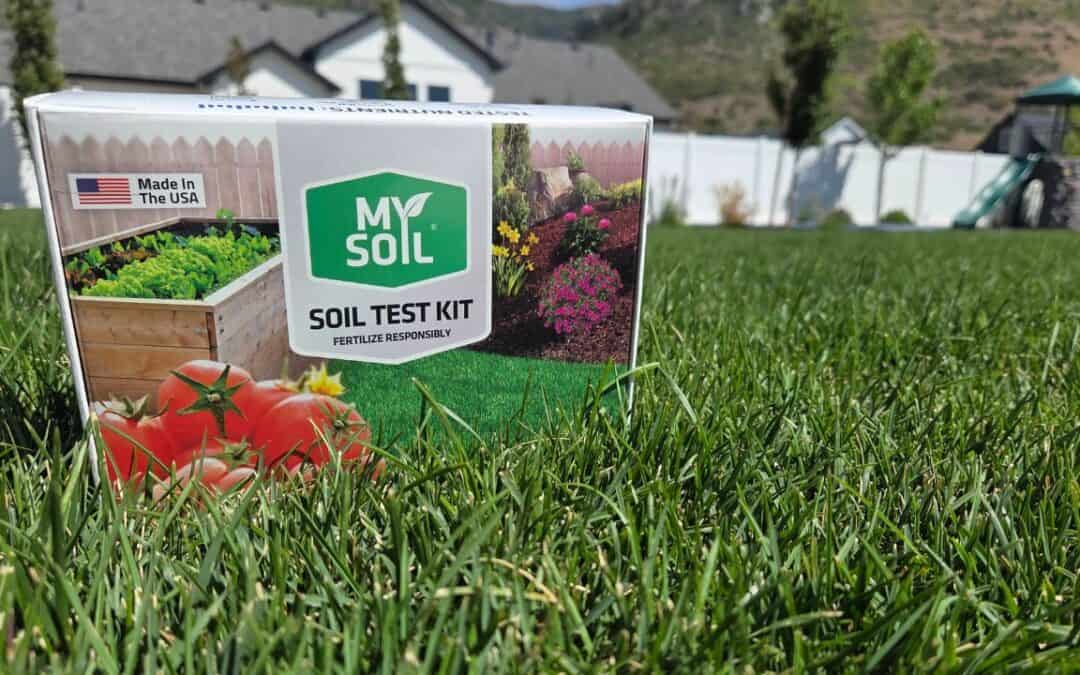
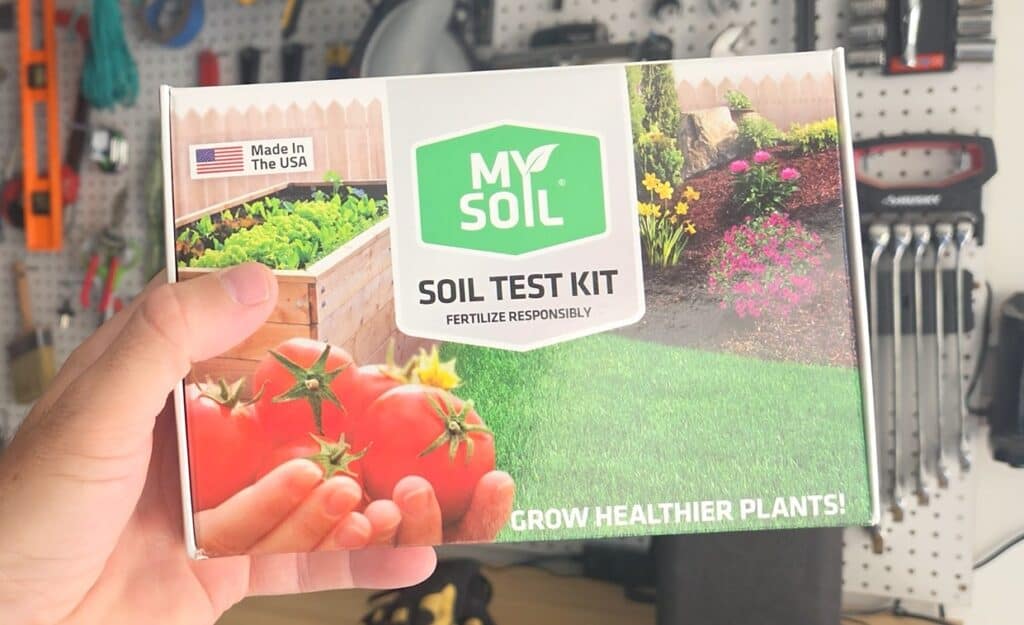
I personally recommend the MySoil® Lawn and Garden Test Kit, available on Amazon. It’s one of the best soil test kits for lawns because it:
- Tests for a wide range of nutrients
- Sends results back in about a week
- Provides fertilizer recommendations based on your soil data
- Is relatively inexpensive
- Has an online dashboard so you can see previous tests you’ve run – giving you a nice soil history for your yard
While there are other at-home soil test kits you can get, the MySoil Test Kit is simple to use, inexpensive and has a history of getting accurate results (check online reviews!).
Tools You’ll Need For an At-Home MySoil Test
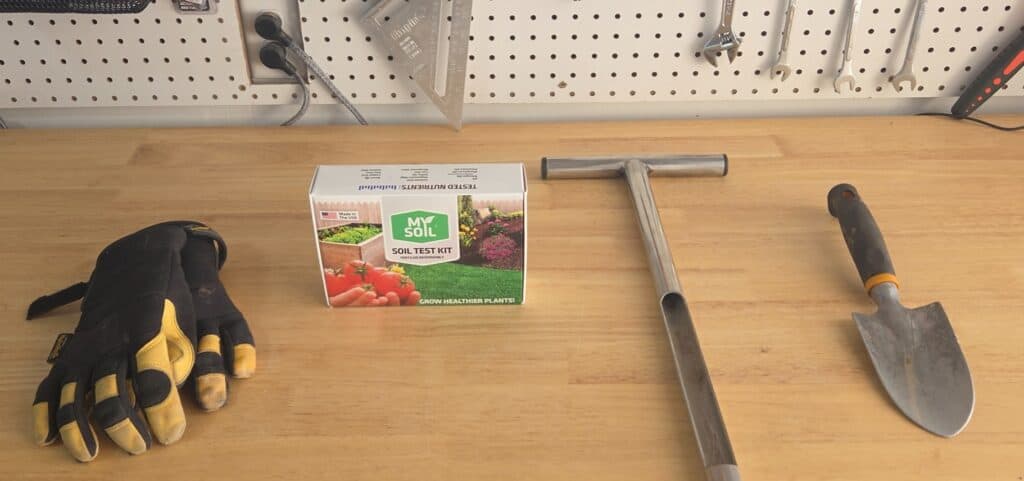
When performing an at-home soil test on you’re lawn – you’ll need a few tools:
- MySoil Testing Kit – https://amzn.to/45c8gn8
- Gloves – https://amzn.to/4leHEbn
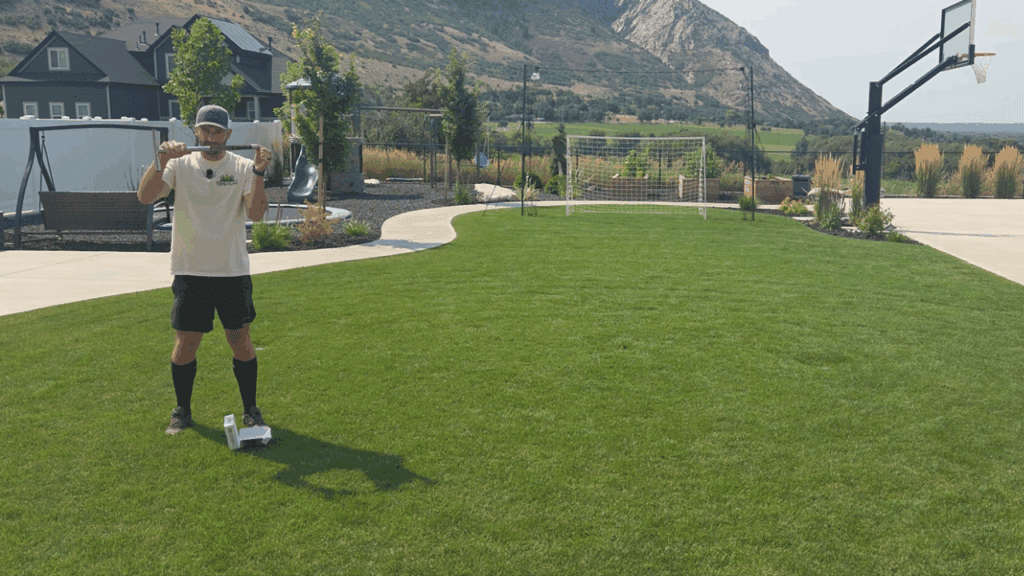
- Soil Sampler Probe (I have the 21″ version) – https://amzn.to/41c2WyY
- OR Hand Shovel – https://amzn.to/4mOLV6z
Consider a Soil Sampler Probe For Other Yard DIY Projects in Addition to a Soil Test
If you haven’t invested in a soil probe for your yard, it’s time to do it! It makes this project incredibly simple, but it also has other great uses for diagnosing your yard. The most relevant is it allows you to pull up a plug of soil in any area of your grass to see how much moisture is making it to your roots.
When my yard was first put in, one of the hardest things to dial in was how much water was actually making it down to my roots. Every sprinkler head puts out a different amount of water (not to mention if you have compacted or clay soil, which makes it harder to reach lower layers), and the soil probe allowed me to double-check I was watering enough.
While a soil probe makes collecting samples faster and more accurate, a small garden shovel works too.
How to Do a MySoil Test at Home (Step-by-Step)
Let’s get to the meat and potatoes of the process, shall we? Here are step-by-step instructions for how to perform an at-home soil test for your lawn using the MySoil Testing Kit:
Register Your MySoil Test Kit
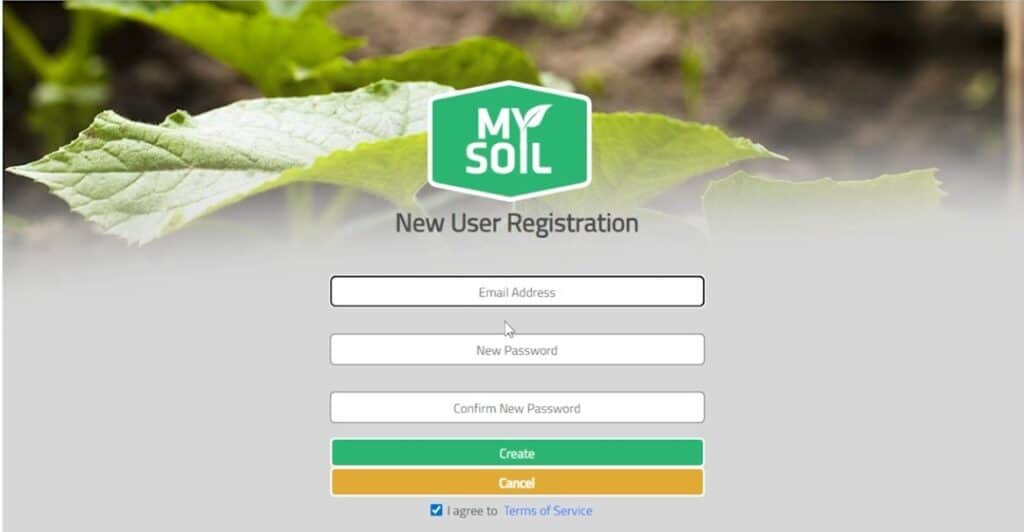
The first (and maybe most important) step is to register your kit! The instructions do remind you multiple times to register online first, because otherwise you could send in your kit and have no way to retrieve the information. There should be a code for your kit both on the card right inside the box, as well as on the mixing container you’ll eventually put your soil samples in.
- Go to mysoiltesting.com.
- Create an account and enter your kit’s registration code.
- Take a photo of your code so you don’t lose it.
Collect Soil Samples
Next is the fun part. This is where you’ll take soil samples from areas in your yard (with the soil probe) and mix them together for testing. You’ll want to pull samples evenly from different areas in your yard to get the best results. OR, you may want to buy a specific MySoil test kit for different areas of your yard (i.e. front yard, vs back yard).
- Pick a testing area (lawn, garden, or flower bed).
- Take 5–7 samples from 4–6 inches deep.
Mix the Samples and Fill the MySoil Kit Container
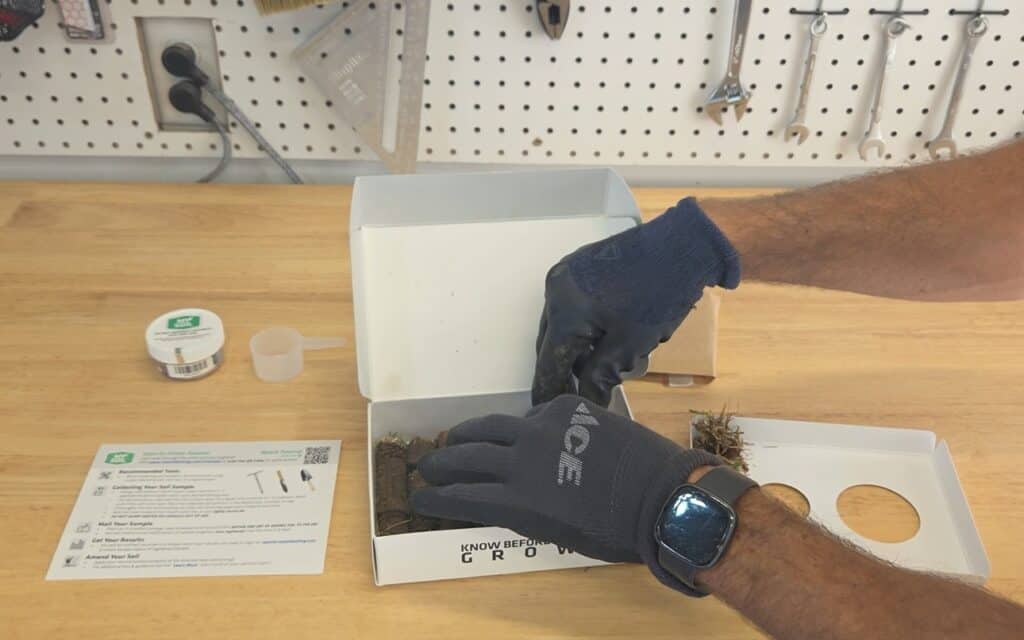
Next, you’ll want to take those 5-7 samples back to your work area and use a container (I just used the now-empty MySoil cardboard box) to mix those samples together – removing large plant matter. From there, you’ll put that mixed up soil into the provided container (DO NOT POUR ANY OF THE LIQUID OUT!).
- Remove roots, rocks, and plant material.
- Mix the samples in the provided box.
- Scoop soil into the small vial included in the kit.
- Seal the lid tightly.
Mail In The Soil Sample Mixture
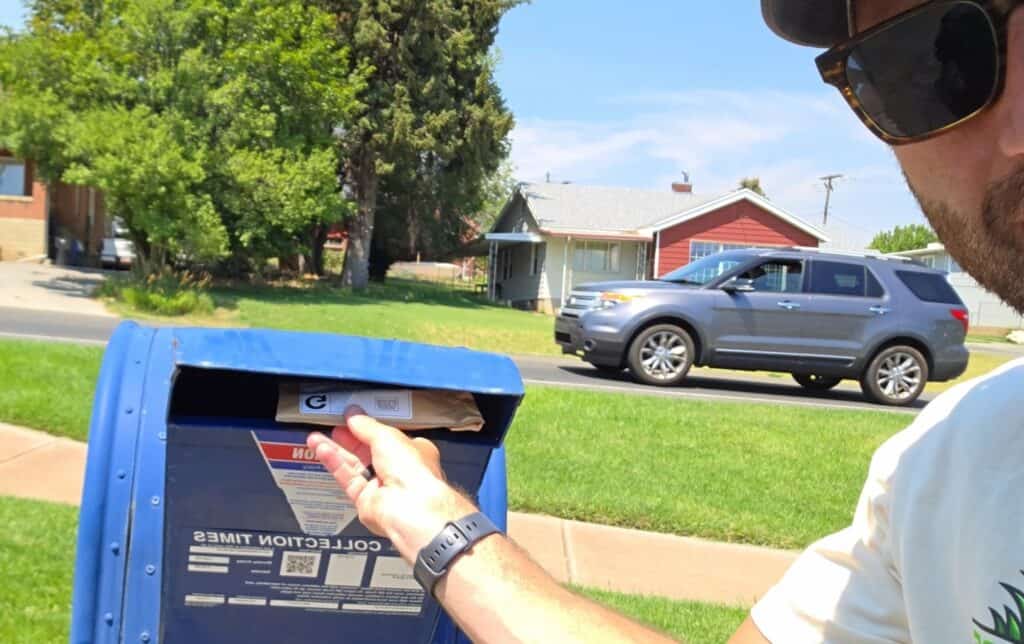
There is a time-sensitive element to doing an at-home MySoil test once you’ve mixed the soil with the liquid in the small vial included in the kit. To be safe, you should mail the now-mixed container back in within about 48 hours of doing the mixing for the most accurate results.
- Place the vial back in the prepaid box.
- Drop it off at the post office.
That’s all it takes—the hardest part might be walking to your mailbox (if it’s far away like mine is!).
How to Read Lawn MySoil Test Results
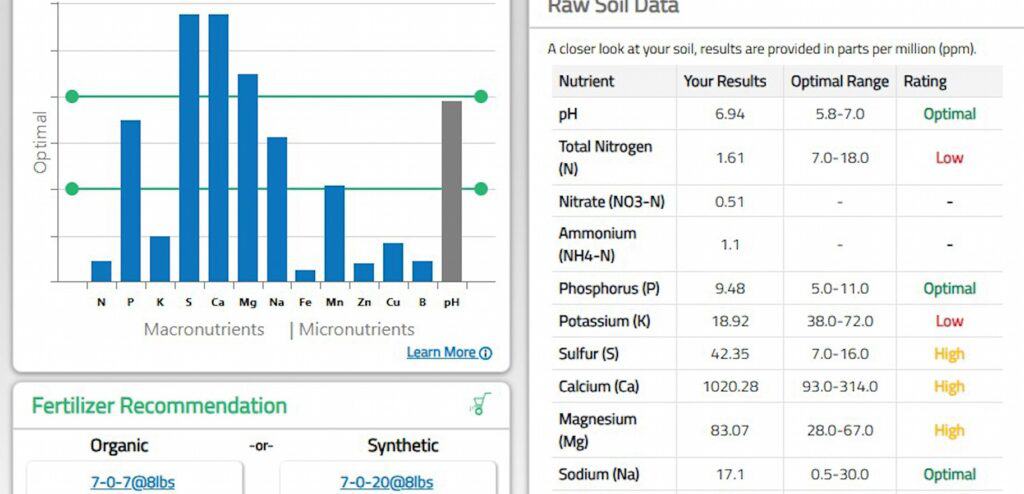
Within about a week, you’ll receive an email with your test results. While this part of the process of doing a soil test may seem daunting, it’s actually very easy to navigate through the MySoil dashboard. Once logged into the site, it gives you two views:
- Graph View – shows whether nutrients are low, optimal, or high.
- Data View – gives exact nutrient levels.
I prefer the “Raw Soil Data” section that’s found on the right side of the screen because you get the actual optimal range data and your existing range data side by side in an easy-to-use table format.
For example, in my own soil test results I found:
- Low nitrogen (common in Kentucky bluegrass lawns)
- Low potassium
- Low iron
- Good phosphorus levels
- High calcium (typical in clay soil)
Knowing this, I’m now armed with data to make informed decisions about how to fix my grass!
How to Use MySoil Test Results to Fix Your Lawn
Once you’ve reviewed the results of your DIY soil test kit, it’s time to take action. While you can review fertilizer recommendations directly from the MySoil store, you can usually find cheaper options at local garden centers or on Amazon. I still appreciated being able to see their recommendations, though, to find similar products online (or at a big box home improvement store).
Here’s how I adjusted my lawn treatments based on my results:
- Apply a high-nitrogen lawn fertilizer to boost growth
- Add potassium fertilizer to strengthen roots
- Use an iron supplement for lawns (like apply Ironite) for a deeper green color
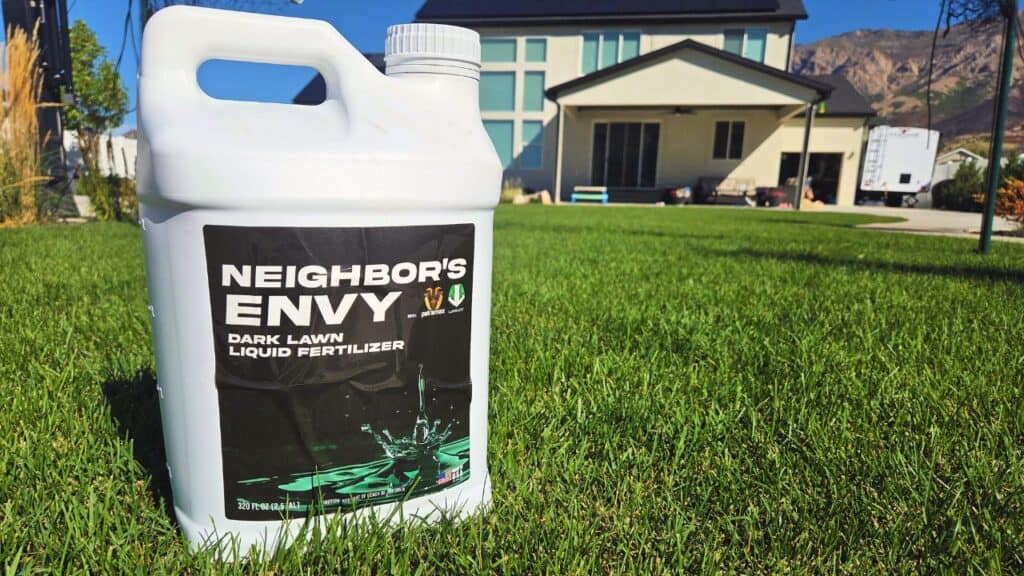
Sometimes a single fertilizer covers multiple deficiencies. For example, I researched and tested a product called Neighbor’s Envy, which contains nitrogen, potassium, and iron—all things my soil needed.
- Neighbor’s Envy liquid fertilizer – https://thelawnlife.com/products/neighbors-envy-liquid-lawn-fertilizer?sca_ref=9570198.tnSsFSCU50O
Stop Guessing and Get a MySoil Test Kit For Your Lawn!
Doing a soil test on your lawn takes the guesswork out of lawn care. Instead of randomly applying products, you’ll know exactly what your soil needs to grow thick, green grass.
If your lawn isn’t looking its best, grab a DIY MySoil test kit and find out what’s really going on beneath the surface. In just a week, you’ll have the answers—and a plan to fix your lawn. If you think your lawn issues might be related to something other than nutrients, then you may want to check out our lawn watering guide to see if you’re either overwatering or underwatering your yard.