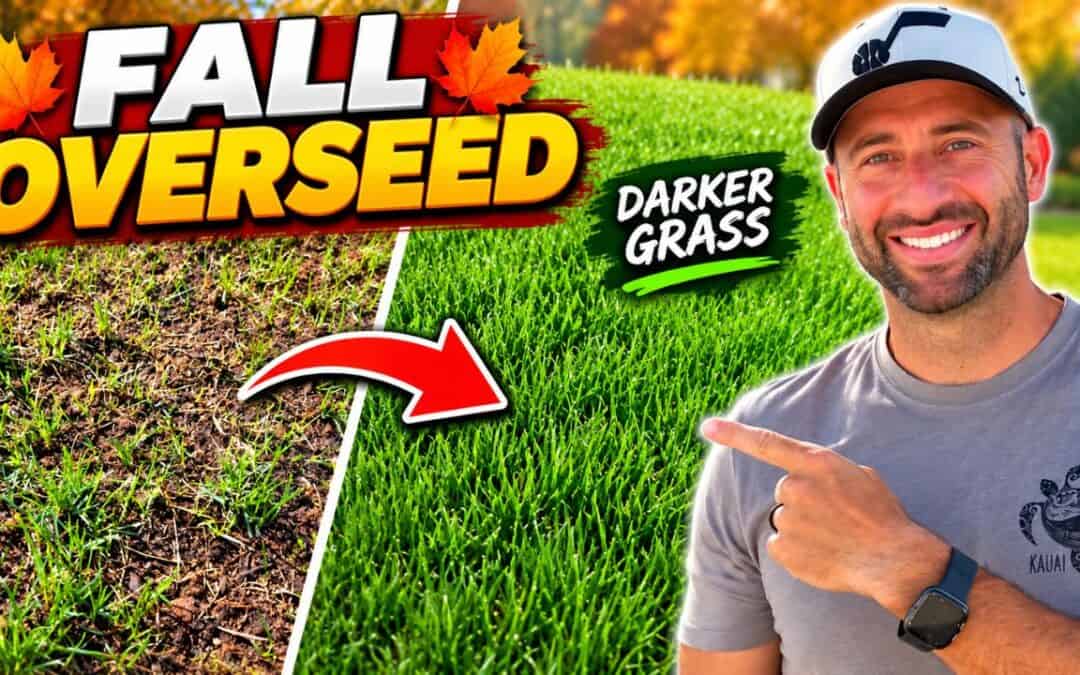
Everyone wants a lawn that looks a little thicker, darker, and greener. Lawn fertilizer and regular lawn care can help, but sometimes the grass itself determines how dark your lawn can get.
That is one reason fall overseeding can make such a noticeable difference.
For this project, I overseeded my Kentucky bluegrass lawn with Night Shift Dark 30 perennial ryegrass. My goal was to introduce a darker grass variety, fill in bare areas, and improve the overall color of the lawn. The perennial ryegrass also germinates quickly, making it a good fit when you want to see new growth without keeping everyone off the lawn for weeks.
And the results came fast. I started seeing germination around day four, and after 10 days, several thin and bare areas had already filled in with new grass.
Watch the full overseeding video here:
Here is the full fall overseeding process I used.
Why Overseed Your Lawn in the Fall?
One of the biggest reasons I wanted to overseed was color.
I had already tested Night Shift Dark 30 perennial ryegrass next to Kentucky bluegrass, and the difference was easy to see. The Kentucky bluegrass still looked good, but the darker ryegrass made it appear much lighter by comparison.
Rather than replacing the entire lawn, I wanted to blend the two grass types together. That lets me keep the benefits of Kentucky bluegrass while introducing the darker color and softer appearance of perennial ryegrass.
Overseeding can also help fill in thin areas and bare spots, which became especially noticeable in the 10-day results.
Step 1: Scalp the Lawn Before Overseeding
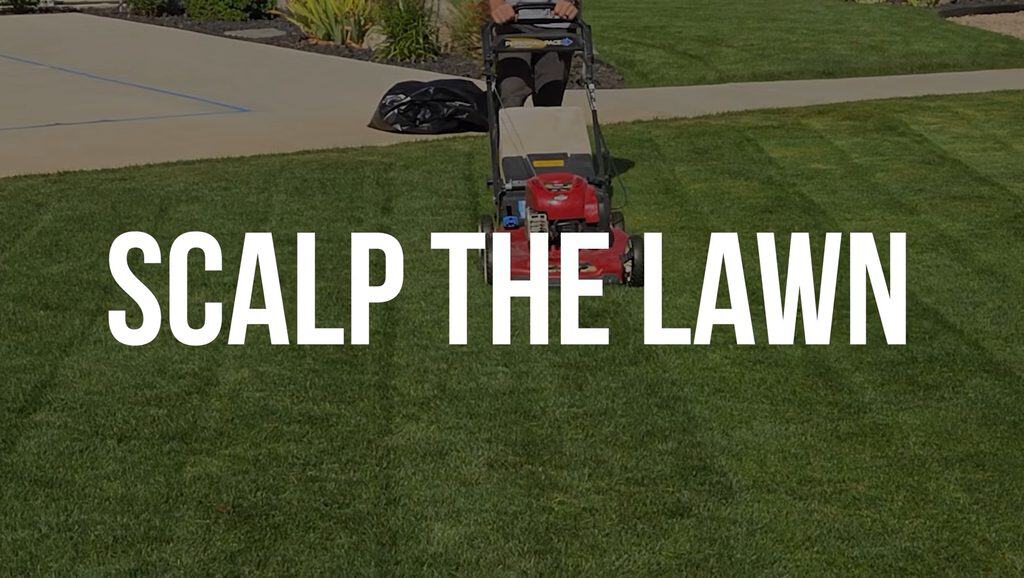
The first step was mowing the lawn much lower than normal. I scalped the grass for two main reasons.
First, mowing low helps you get closer to the thatch layer so you can remove dead material and give water, air, and nutrients better access to the soil.
Second, shorter existing grass gives the new seed a better chance to receive sunlight instead of getting shaded out by taller grass.
I made two mowing passes, lowering the deck more each time, and bagged the clippings as I went. Do not panic if your lawn looks rough afterward. Scalping stresses the grass temporarily, but the existing lawn can recover fairly quickly.
Step 2: Dethatch and Scarify the Lawn
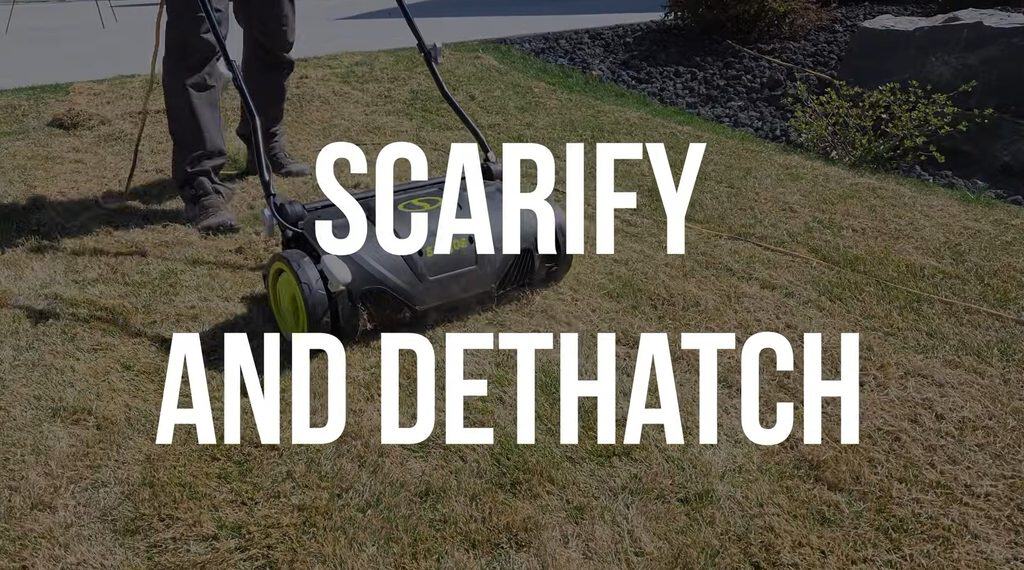
Next came one of the most important parts of the overseeding process: removing thatch and opening up the surface of the soil.
I used a Sun Joe dethatcher and scarifier with the scarifier attachment. The scarifier does more than pull up dead material. Its blades also cut into the surface of the soil and create small areas where the new seed can settle.
For my lawn, I made two scarifying passes:
- One pass in the first direction
- A second pass perpendicular to the first
This helped create more even coverage across the lawn.The first pass pulled up a surprising amount of dead material. I raked most of it up, then used the mower to bag the remaining debris after the second pass.
Buy 👉 Sun Joe Electric Lawn Dethatcher & Scarifier – https://amzn.to/45Dfty7
(If you make a purchase using the links in this description, we may earn a commission at no additional cost to you.)
Watch for Sprinkler Heads and Drains
A scarifier digs into the soil, so mark anything you do not want to hit before you start.
That includes sprinkler heads, pop-up drains, and other objects hiding near the soil surface. A few inexpensive lawn flags can save you from accidentally creating another repair project.
Buy 👉 Lawn Flags – https://link.amazon/B03jP5rWF
(If you make a purchase using the links in this description, we may earn a commission at no additional cost to you.)
Step 3: Spread the Grass Seed
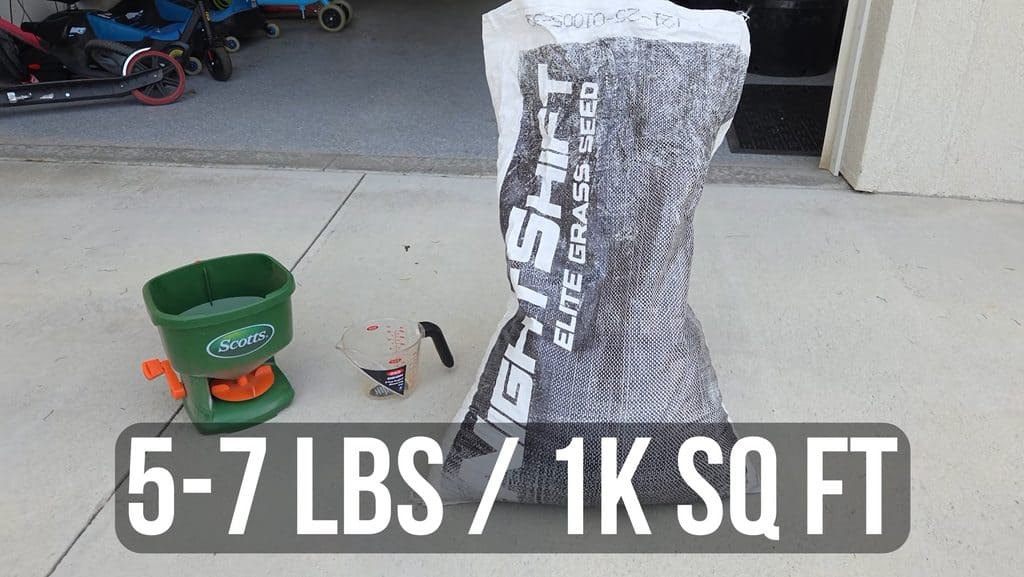
Once the lawn was scalped, scarified, and cleaned up, it was ready for seed.
For this overseed, I used Night Shift Dark 30 perennial ryegrass.
One reason I like perennial ryegrass for overseeding is its fast germination. In the video, I expected it to germinate in roughly five to 10 days, which made it practical for a lawn that my kids also use regularly.
The overseeding rate listed for this seed was about 5 to 7 pounds per 1,000 square feet. My lawn area was roughly 1,500 square feet, so I adjusted the amount of seed accordingly.
I also put a little extra seed on some of the bare areas that needed more help.
Buy 👉 Nightshift Dark:30 Grass Seed – https://thelawnlife.com/products/dark-30-formerly-blackout-2-0-pre-sale?sca_ref=9570198.tnSsFSCU50O&sca_source=website
(If you make a purchase using the links in this description, we may earn a commission at no additional cost to you.)
Step 4: Add Starter Fertilizer
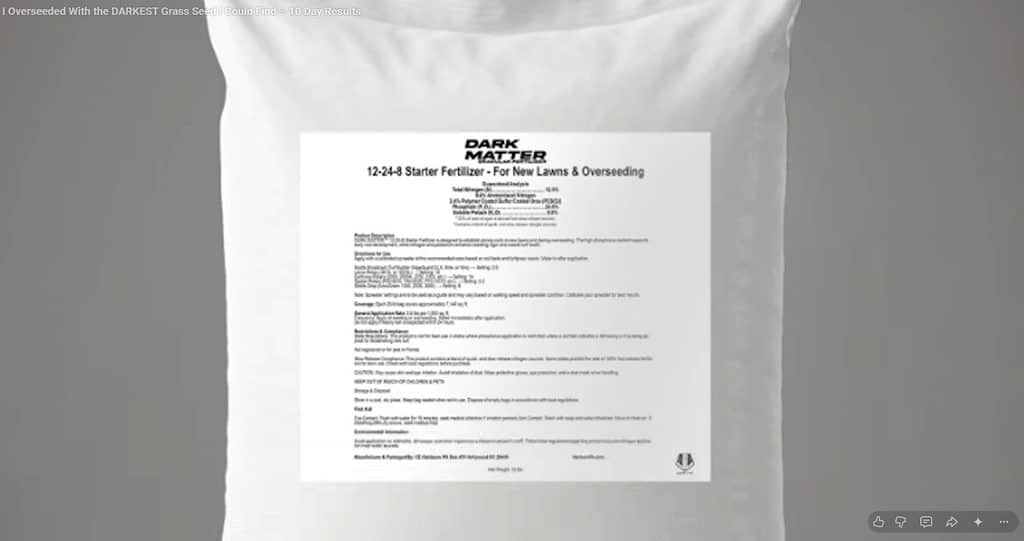
After spreading the seed, I applied starter fertilizer.
This step is optional, but I like using a fertilizer designed for newly germinating grass.
You can apply starter fertilizer right after seeding. The video also notes that you could wait about a week if the existing lawn was fertilized recently and you are concerned that rapid growth from the established grass could compete with the seedlings.
After spreading both the seed and fertilizer, I also blew anything that landed on the concrete back into the lawn.
No reason to waste seed you already paid for.
Buy 👉 Starter Fertilizer – https://thelawnlife.com/products/dark-matter%E2%84%A2-12-24-8-starter-fertilizer?sca_ref=9570198.tnSsFSCU50O&sca_source=YouTube
(If you make a purchase using the links in this description, we may earn a commission at no additional cost to you.)
Step 5: Improve Seed-to-Soil Contact
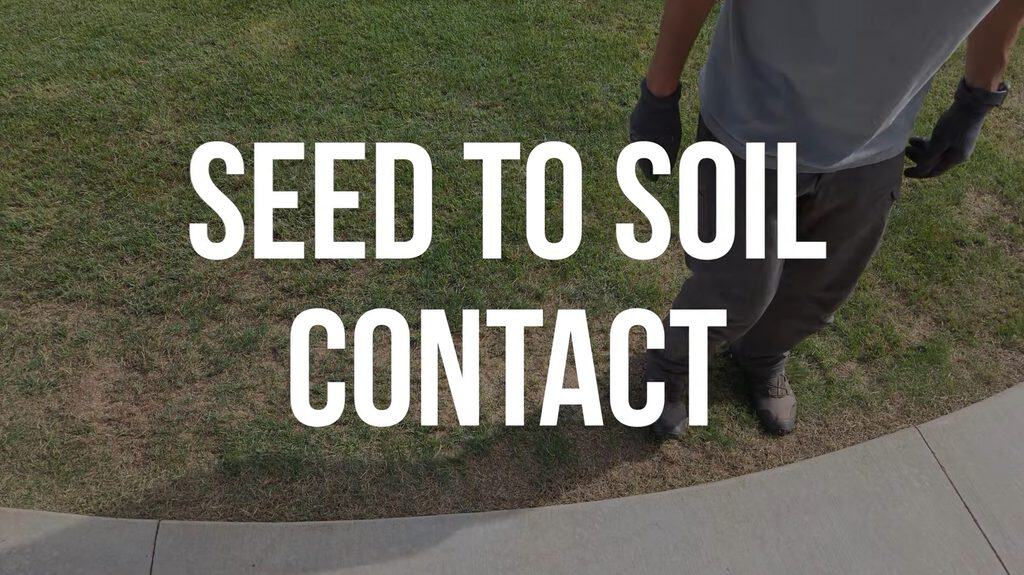
Grass seed needs good contact with the soil to have its best chance of germinating.
There are a few ways to improve seed-to-soil contact. You can walk across the lawn, lightly rake the area, or use something with enough weight to help press the seed down.
I used a peat moss spreader.
The spreader helped press the seed toward the soil while also letting me add a thin layer of peat moss over the lawn.
Buy 👉 Peat Moss Spreader – https://amzn.to/4guY3Il
(If you make a purchase using the links in this description, we may earn a commission at no additional cost to you.)
Step 6: Top Dress With Peat Moss
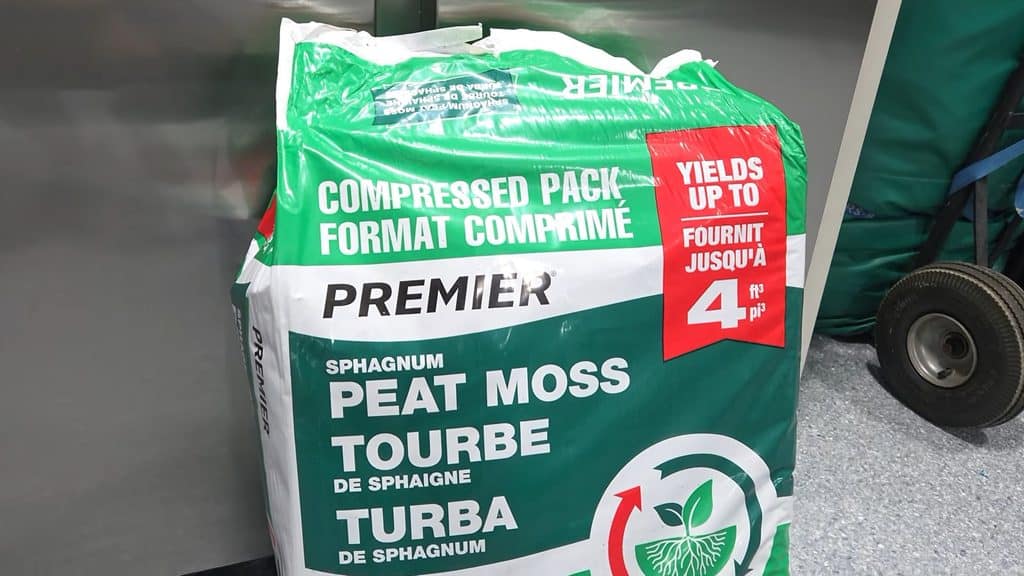
Peat moss served two purposes during this overseed.
First, the spreader helped press the seed down.
Second, the peat moss created a light protective layer over the seed.
I applied roughly ⅛ to ¼ inch of peat moss. That thin layer can help keep seed from blowing or washing away, reduce the chance of birds getting to it, and help the surface retain moisture during germination.
You do not need a thick layer. One light pass was enough for this project.
Buy 👉 Peat Moss – https://amzn.to/4gwtPUU
(If you make a purchase using the links in this description, we may earn a commission at no additional cost to you.)
Step 7: Water the New Grass Seed
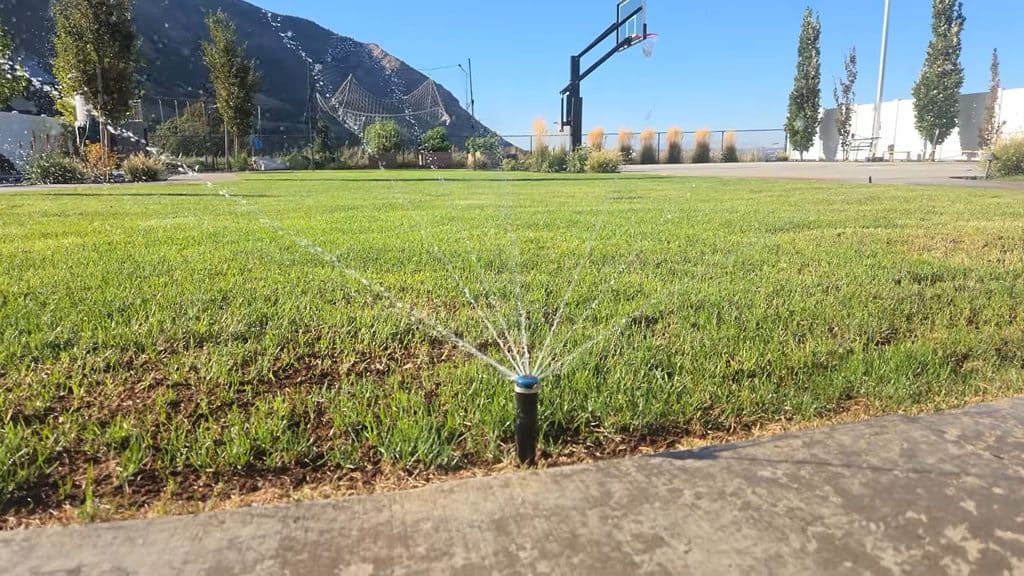
Once everything was down, the final job was keeping the seed moist.
I planned to water the overseeded lawn about two to three times per day for seven to 10 days, with each watering lasting roughly five to 10 minutes depending on sprinkler output.
The goal was not to flood the lawn.
The goal was to keep the seed and surface of the soil moist while the perennial ryegrass germinated.
Your sprinkler system may put out more or less water, so adjust the timing based on what you see in your own lawn.
Fall Overseeding Results After 4 Days
The first surprise came sooner than expected.
By day four, small new grass blades were already popping through the soil.
They were easier to see when looking at the lawn from ground level, but the germination was clearly underway.
That is one of the reasons perennial ryegrass can be so satisfying to use for an overseed. You can begin seeing signs of progress quickly.
Fall Overseeding Results After 10 Days
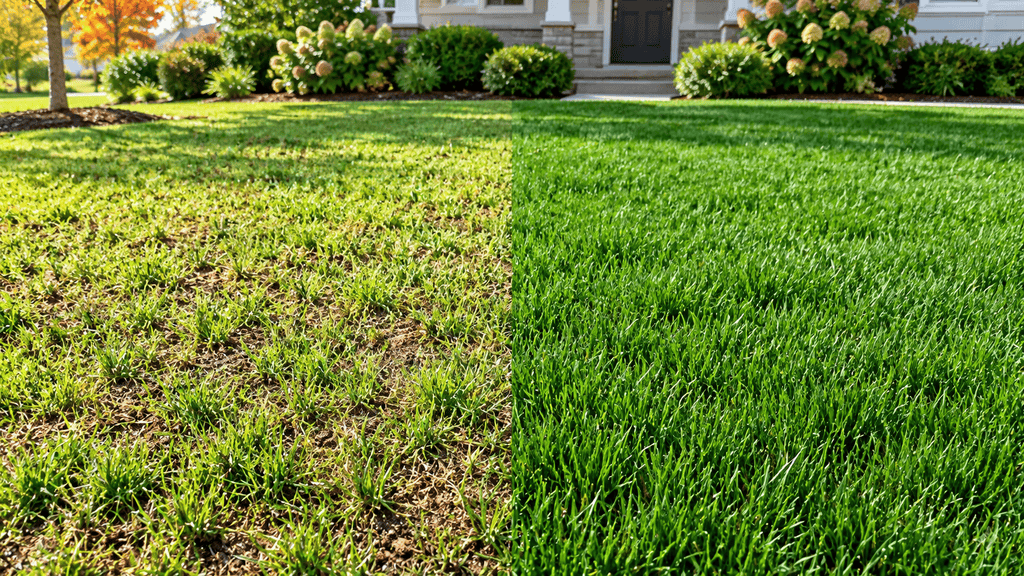
The bigger transformation showed up at day 10.
Several areas near the concrete had been very thin or almost completely bare before the overseed. Ten days later, those areas had new perennial ryegrass growing throughout them.
Some of the new grass was already a couple of inches tall, and the overall lawn looked thicker and fuller.
The project also accomplished the main goal: introducing more of that dark perennial ryegrass into the existing Kentucky bluegrass lawn.
The grass will continue filling in as it matures, but the 10-day difference was already easy to see.
Fall Overseeding Checklist
If you want to follow the same basic process, here is the order I used:
- Scalp the lawn and bag the clippings.
- Scarify the lawn in two directions.
- Remove the dead grass and thatch.
- Spread your grass seed.
- Apply starter fertilizer if desired.
- Improve seed-to-soil contact.
- Add a light peat moss top dressing.
- Water frequently enough to keep the seed moist.
- Give the new grass time to germinate and fill in.
This process takes some work upfront, but it gave me a much cleaner seed bed and helped new grass establish throughout the lawn.
Want a Darker Green Lawn?
If your lawn is already healthy but you want it to look darker, fertilizer may not be the only answer.
Introducing a darker grass cultivar through fall overseeding can change the overall appearance of the lawn while also helping fill thin and bare areas.
For this project, the combination of Kentucky bluegrass and dark perennial ryegrass gave me exactly what I was looking for: a thicker lawn with a deeper shade of green.
And seeing new growth within four days—and noticeable improvement by day 10—made the project even more satisfying. And now that you’ve done this, you’re in a perfect position to do a fall nitrogen blitz!
Want more help getting your lawn thicker, greener, and healthier throughout the year? Join the Tips for Turf community for seasonal lawn care guides, equipment and product recommendations, and help from Greg, Matt, and other lawn enthusiasts.