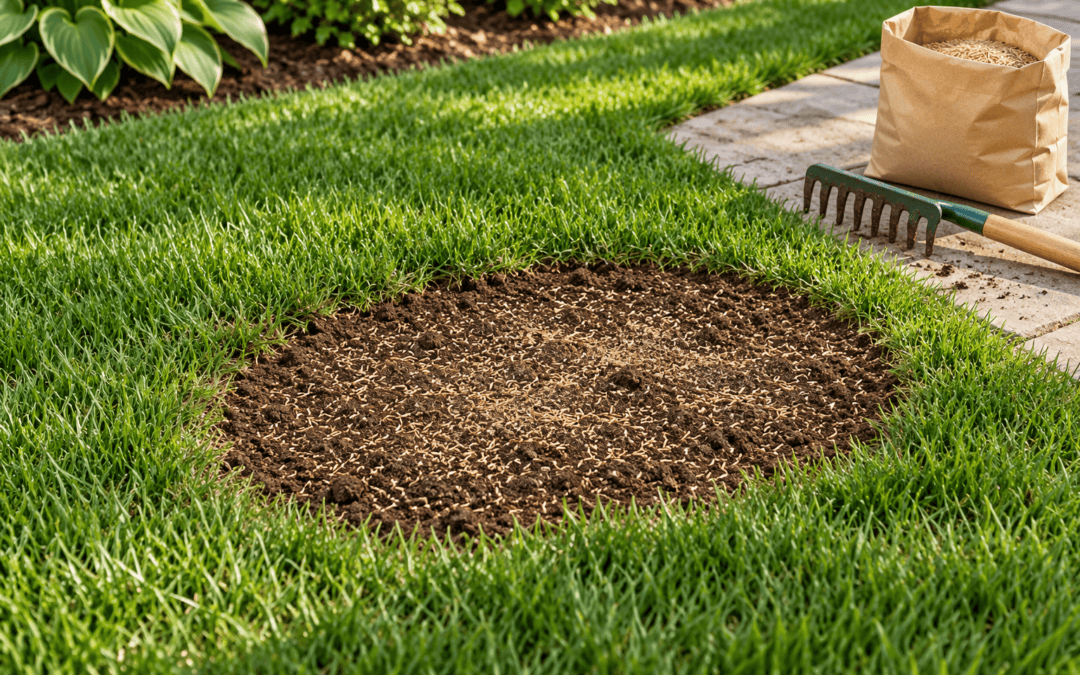
A bare patch can make an otherwise good-looking lawn feel unfinished. You can water and mow the rest of the yard, but that empty spot still catches your eye every time you walk past it.
I had one of those patches in my Kentucky bluegrass lawn. Rather than wait for the surrounding grass to spread into it, I prepared the soil and planted Fireball perennial ryegrass. Seven days later, new grass was coming up. By day 14, the patch had thickened considerably and looked ready for its first mow.
If you're wondering how to fix bare spots in your lawn, the basic process is simple: clear the dead material, loosen the soil surface, spread suitable grass seed, press it into contact with the soil, and keep it moist while it germinates.
Here's how I did it, plus what to check so your repair has a good chance of lasting.
For a full walkthrough on how to repair bare spots in your lawn, watch this!
Check Why the Bare Spot Appeared
Before adding seed, take a minute to look at the problem. A patch that keeps dying may need more than another handful of grass seed.
Check for repeated foot traffic, poor sprinkler coverage, soggy soil, heavy shade, or another issue affecting that spot. Address the cause so you're not trying to grow grass in the same conditions that caused it to fail.
If watering looks like part of the problem, our guide to telling whether you're overwatering or underwatering your lawn can help you check what's happening below the surface.
Also make sure the grass is actually dead. Grass that has gone dormant may recover, while a genuinely bare area needs new growth.
Why I Used Perennial Ryegrass for This Repair
Kentucky bluegrass can spread into nearby thin areas, but I didn't want to wait for it to cover this whole patch. Leaving the soil open also gave weeds more opportunity to move in.
I chose perennial ryegrass because of its quick germination and establishment. Kansas State University lists perennial ryegrass as faster to germinate than Kentucky bluegrass under suitable conditions.
For this project, I used the Fireball cultivar because I wanted a dark color as well as quick growth. That was my choice for this lawn, rather than a requirement for every repair.
Choose seed suited to your climate, sunlight, and existing turf. Perennial ryegrass can work in a cool-season lawn, but its color and texture may differ from the surrounding grass. If matching the lawn is your priority, consider the species and varieties already growing there.
What You'll Need
For a small lawn patch, you can keep the equipment simple:
- Grass seed suited to the site.
- A garden rake and a container for debris.
- A mower or trimmer, if remaining grass needs cutting back.
- A hose or sprinkler with a gentle spray.
- Optional peat moss or another suitable light seed cover.
Here are some actual products you can purchase for this project:
(If you make a purchase using the links in this post, we may earn a commission.)
I spread both seed and peat moss by hand. A spreader can help with larger areas, but it isn't necessary for a small repair like mine.
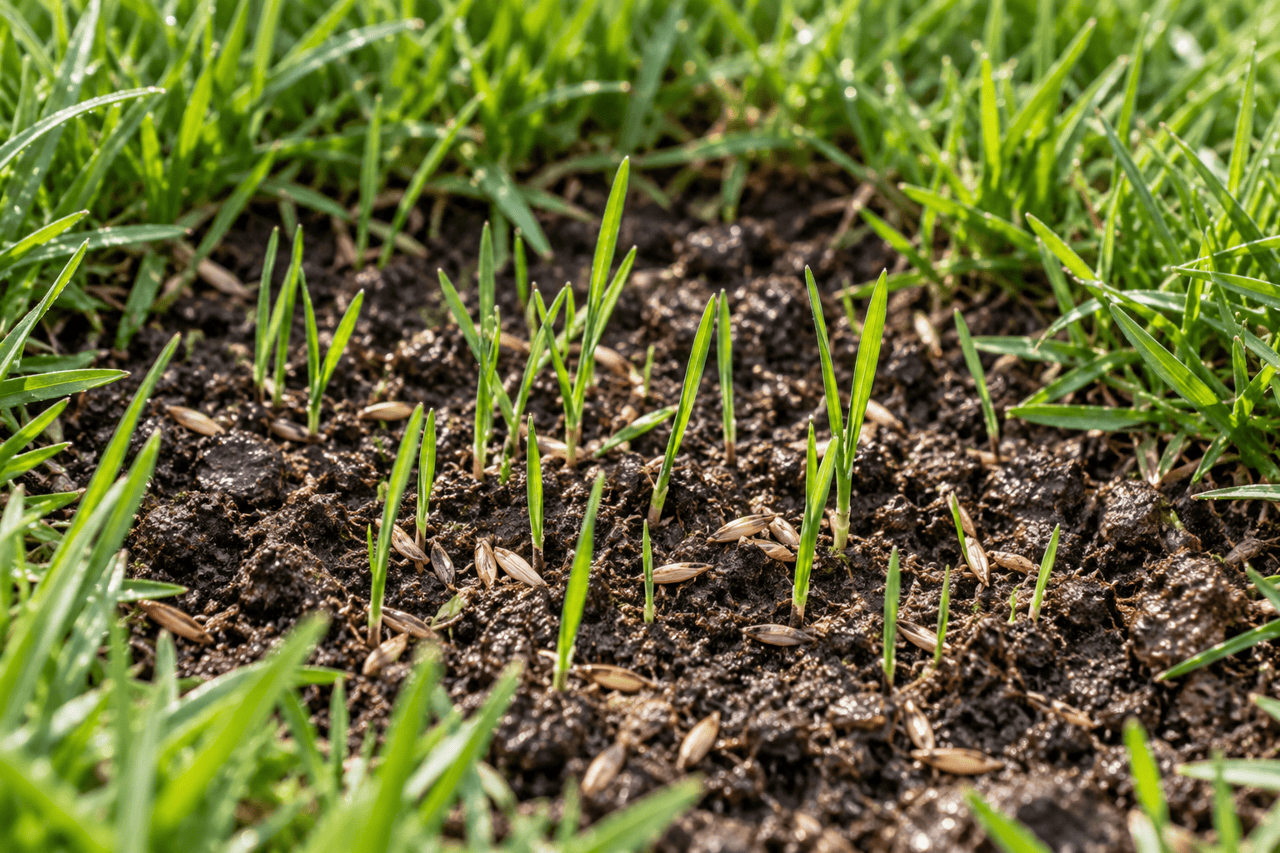
Step 1: Clear the Patch and Loosen the Soil
Start by removing dead grass and loose debris so the seed can reach the soil.
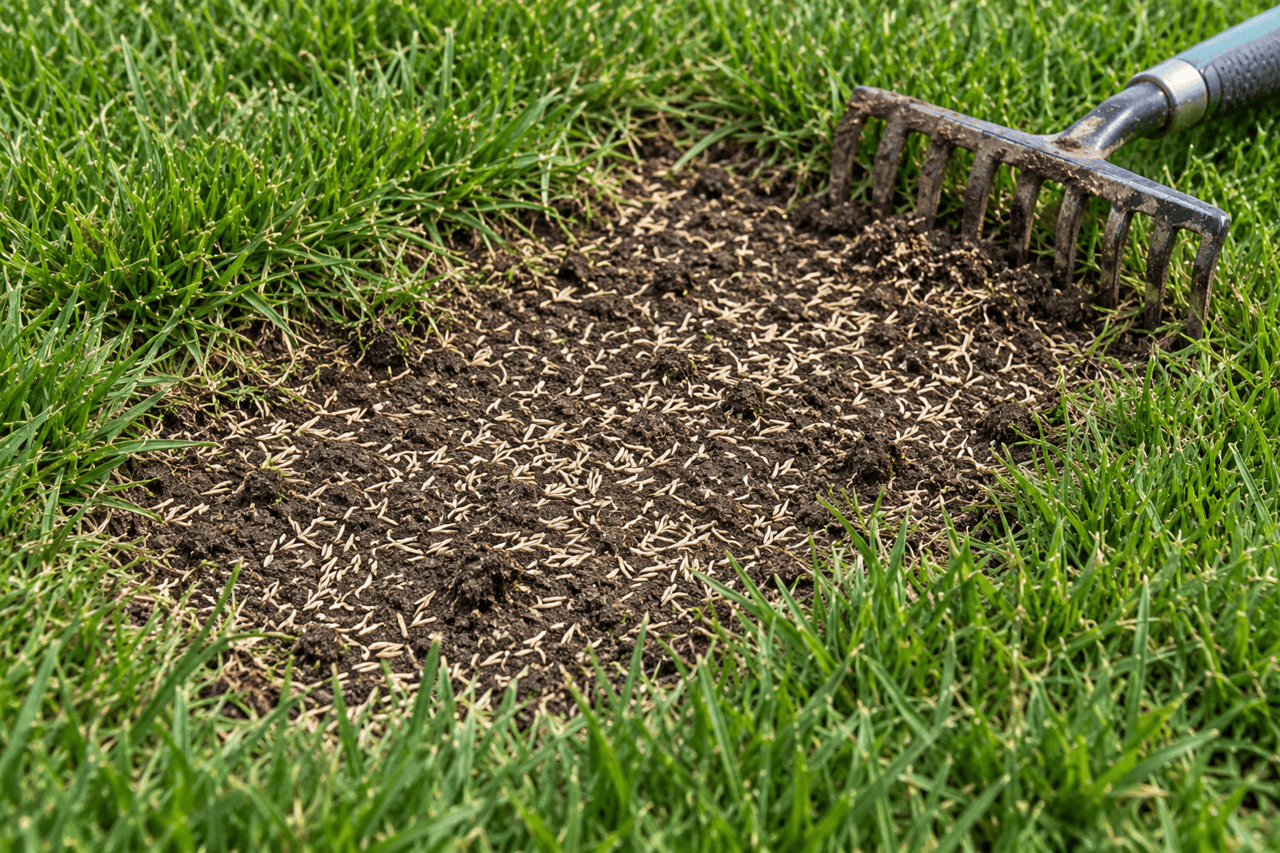
In my project, I cut the material in the repair area very short, then used a regular garden rake to scratch and loosen the surface. As clumps came loose, I removed them rather than leaving them over the seedbed.
You're aiming for a prepared surface with exposed soil, without deep holes or a thick mat of dead grass. Keep low cutting focused on the repair area instead of scalping healthy surrounding turf. Our guide to how to scalp your lawn explains how grass type affects renovation mowing.
The soil in my patch was slightly damp because I'd watered earlier. That helped when I pressed the seed into place. Avoid working it when it's muddy.
Step 2: Spread the Grass Seed Evenly
Measure the bare area and use the seed supplier's rate for planting on bare soil. Don't assume the lighter rate for overseeding existing grass is the right amount for an empty patch.
I sprinkled the seed by hand, checking that the coverage looked consistent across the whole area. You can do the same on a small spot, using a measured amount rather than relying on handfuls to determine the rate.
Pay attention to the edges, where it's easy to miss thin areas. Avoid dumping extra seed into piles; more seed doesn't automatically create a better repair.
Step 3: Improve Seed-to-Soil Contact
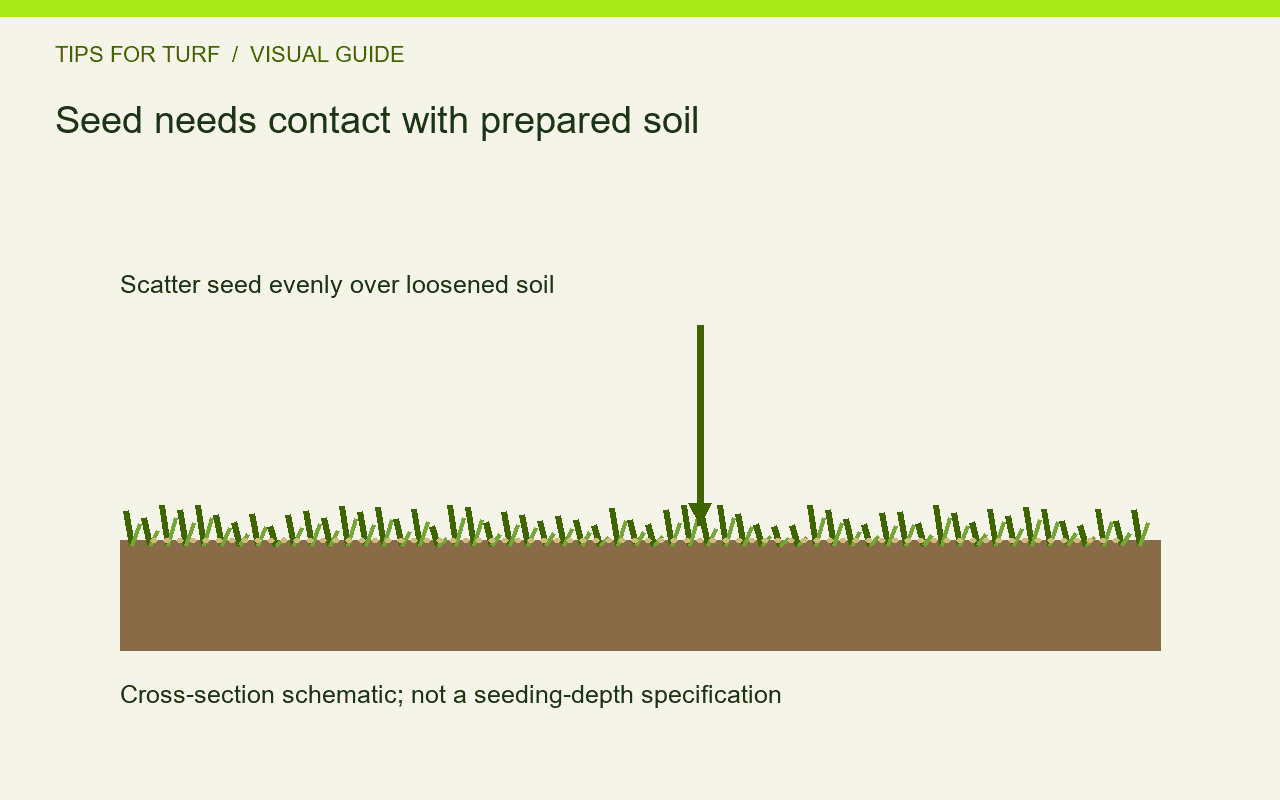
Seed needs contact with the prepared soil. Leaving it perched on debris makes that harder.
In the video, I pressed the seed down with my feet. For your patch, use gentle pressure or a light roller to firm the surface without compacting it heavily. You can also lightly rake the seed into the surface, following the planting-depth guidance for your seed.
The goal is to keep the seed in contact with moist soil, not bury it deeply.
Step 4: Add a Thin Layer of Peat Moss
I used peat moss as a light topdressing to help hold moisture around the seed. For this small area, I simply sprinkled it on by hand.
Keep the layer thin. In the video, I aim for roughly a quarter inch or less rather than a heavy covering. The seedlings still need to emerge through it.
Peat moss is optional, and a light covering won't completely stop birds or prevent seed from washing away. Good soil preparation and gentle watering still matter. Sweep any spilled seed and topdressing off pavement and back onto the repair area.
Step 5: Water Gently and Keep the Seedbed Moist
Water the patch with a gentle spray after seeding. Avoid a strong stream that moves the seed or turns the topdressing into a channel of runoff.
During germination, check the surface regularly and keep it evenly moist. In my video, I discuss misting about every two hours during the heat of the day. That was a response to drying conditions, rather than a watering schedule every yard needs.
The University of Minnesota Extension recommends light, frequent watering after seeding, then reducing frequency as the roots develop.
Adjust for rainfall, temperature, wind, and shade. If the surface is drying between waterings, adjust your timing. If water is puddling or running off, reduce the amount applied at once.
Once the grass is developing, gradually move away from frequent misting toward deeper watering. Protect the young plants from unnecessary foot traffic while they establish.
What My Lawn Looked Like After 7 and 14 Days
At seven days, the perennial ryegrass was growing well across the patch. By day 14, the area looked much thicker, and the grass appeared ready to mow.
There were still a few thinner spots around the fringe. Because my surrounding lawn contains Kentucky bluegrass, I expected some spreading from that existing turf. I could also add seed to the thin areas if I wanted to address them sooner.
Those results show what happened in my yard. Germination, coverage, and mowing readiness vary with weather, seed, moisture, and growing conditions. A green patch at two weeks is also still young turf, so continue caring for it after it starts looking better.
When Can You Mow the Repaired Area?
Use the grass's height and establishment as your guide, rather than automatically mowing on day 14.
Wait until it reaches the recommended first-mowing height for your grass and the soil is firm enough to support mowing without rutting. Use a sharp blade, mow gently, and avoid removing too much growth at once.
If the seedlings pull out or the mower leaves tracks in soft soil, give the area more time.
Turn That Empty Patch Into Growing Grass
For my lawn, the repair came down to careful preparation, evenly spread seed, and consistent moisture. The perennial ryegrass gave me visible progress quickly, while the thinner edges needed a little more patience.
If you're dealing with widespread thinning instead of one isolated patch, our complete fall overseeding guide walks through a larger project. For a small bare spot, start with the steps above and monitor the new grass as it fills in.
Get help with your next lawn project
For lawn care guides, seasonal advice, product recommendations, and feedback from Matt, Greg, and other lawn enthusiasts, join the Tips for Turf community. We can compare notes on your grass, your conditions, and the next practical step.
Frequently asked questions
Will every bare spot fill in fourteen days?
No. That was my result with perennial ryegrass in this project. Seed type, soil, moisture, temperature, and the cause of the bare spot all affect the outcome.
Can we use perennial ryegrass in Kentucky bluegrass?
I did, but we consider whether the different color and texture fit the lawn. Choose a suitable species and cultivar for the site.
How much seed should we use?
We measure the repair area and use the seed label’s rate. A few handfuls from my small project are not a reliable rate for another patch.
Should we keep the patch soaked?
We keep the seedbed moist with gentle irrigation, without puddles or runoff. Adjust to the actual conditions rather than relying on a fixed timer.